by Meredith
2. March 2011 20:51
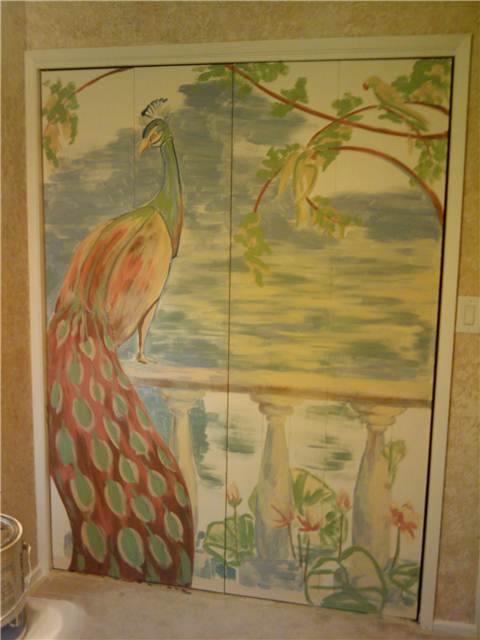 Got some more progress on Maddie's mural today. Thank you Hunter for taking pictures. :)
I texture painted the walls of the room with a sponge painting technique and applied two colors on top of the original room color. I just wadded up a plastic bag and dabbed the paint onto the wall. I used three colors; the room was originally painted a darker tan and I added a medium tan and then a light tan/white on top. With only two colors it didn't look very good. I think the 3rd color was necessary to create depth.
If every doing this painting technique, I strongly recommend wearing gloves and working the whole space at the same time. Despite my turning the bag around a lot, patterns would still form (probably my technique changing) and so I had to move around the room randomly to keep the texture even overall. It took me four hours to apply the first layer and 3 hours for the second.
by Meredith
7. February 2011 20:37
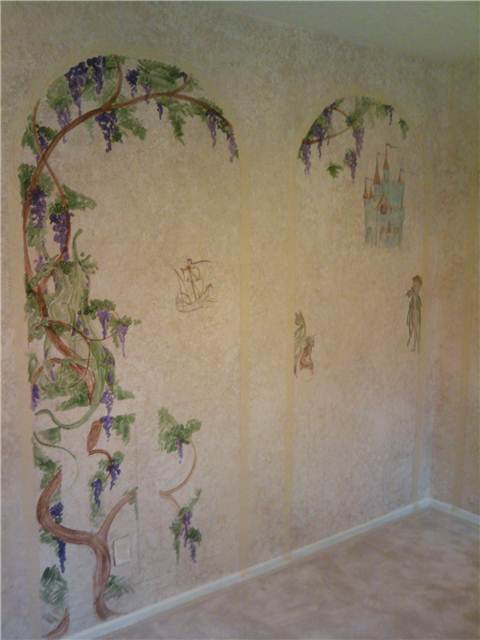 The mural I am painting on Madeline's bedroom walls is well under way. I have a book of Tiffany Windows that is the inspiration but there are some fantasy elements that I want to incorporate as well. Just started color blocking the individual panels and so far so good. This is only in the initial stages of laying out color and I've got a long, long way to go. (Hunter is collecting photos and posting them to an album on FB.)
by Meredith
13. September 2009 10:01
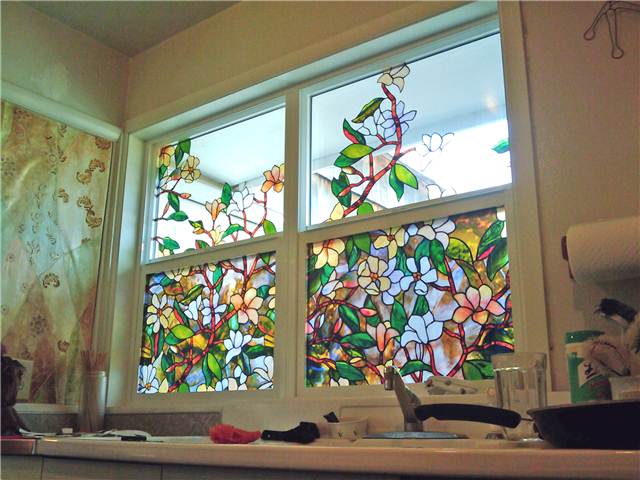
I added privacy film to the condo's kitchen window. I think it turned out pretty cool.
Not as much light comes through compared to no film, but the privacy has been really nice while the neighbors come and go all weekend. We're not even going to bother putting the blinds back up because I don't think they are needed. The color is also really nice and cheery (and adding color is important with the gray skies of the coast).
The film is super easy to install (you just spray the window with some soapy water, peal the backing off the film, and press it against the glass. Use a credit card and squeegee out the extra water and air bubbles. The print repeats in every direction so you can expand as needed by matching the seems.
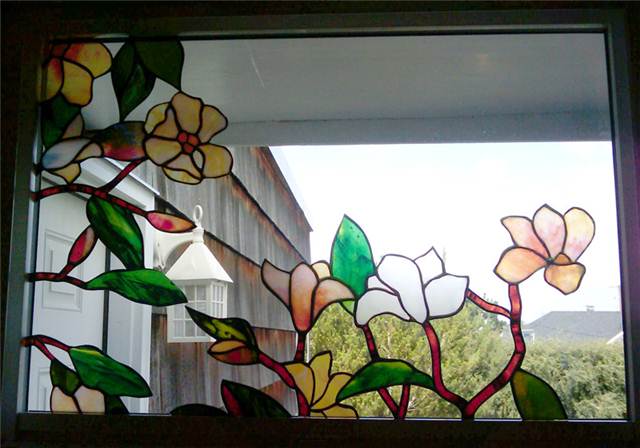
For the top all I did was cut out with a sharp utility knife only the portions of the print that I wanted to continue upwards. I pieced together different sections of the print to fill in as I wanted.
I highly recommend this stuff if you need something for privacy on your windows. Not sure how it compares price wise to blinds or curtains. This stuff (magnolia is the print I selected) was $20 a roll and I used two rolls and have some scraps leftover to play with elsewhere.
by Meredith
8. August 2009 12:30
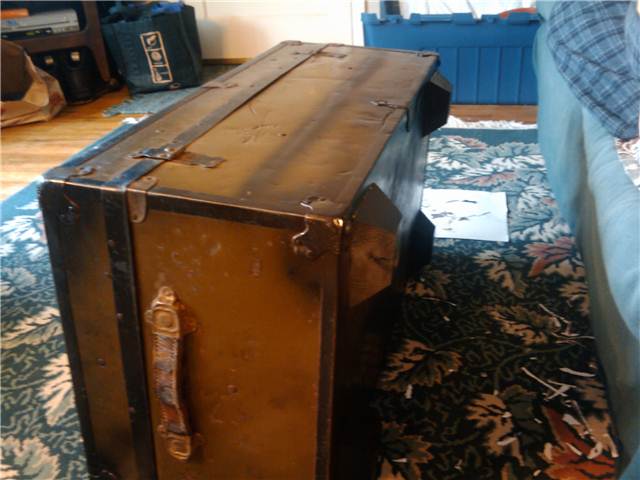 I hit a local Goodwill a couple of weeks ago because I was looking for a cheap stool or table to use as a plant stand. Didn't find a table but I found a killer deal on a trunk. I picked up a smaller trunk that they only charged me $3 for! I wasn't totally sure what I was going to do with it, but for $3, all my guilt regarding the purchase went out the window. :)
For the first step, I needed to clean off the outside. The trunk is lined in metal and most of the bottom had rusted. With the trunk outside, I sanded down the surface, wiped it clean and then gave it a good coat of black spray paint over the rusty spots. I decided to turn the trunk into a coffee table and bought some simple wood finial-things from Home Depot to use as feet. I sanded and sprayed those black as well. Later when paint was dry Hunter used some Gorilla glue and glued the feet onto the bottom.
The inside of the trunk had contact paper that was dirty, stained and was peeling off in places. I spend a couple of hours with a spackle knife and scraped the inside surface as smooth as I could get it. I then applied fresh contact paper to the inside. Man that was a bitch. Not a perfect application, but whatever, it's on there now and the whole inside surface is now clean and fairly smooth. :P
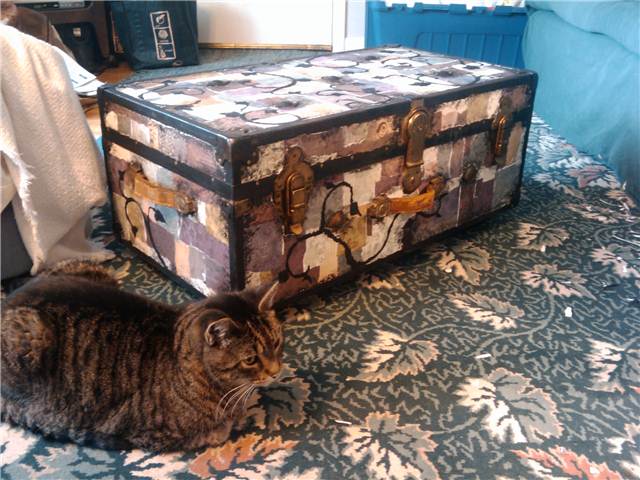 For the outside, I bought a bunch of scrap booking paper, tore it up into strips and then used watered down Elmer's to decoupage the surface…just like plain old paper mache. :) Once the surface was covered I tore up strips of black paper napkins and made ivy swirls and leaves to go over the top. I like the patchwork look of colored paper, but wanted another pattern over the top to make it a bit more random and organic.
The black hardware still seemed a bit too much of a contrast to the colored patchwork so I used a balled up paper napkin and some black paint to sponge on some black shading around all the edges and hardware. For the final step, to bring some of the original brassy/gold color back to the hardware, I painted the rivets with a dot of gold paint.
And yay refinishing is done! :) For final touches I still need to give the outside a top coat of some kind of sealant, as well as buy a piece of plexi-glass to set on the top. I also think adding a chain to the inside so that the lid doesn't open all the way would be nice too.
by Meredith
12. January 2009 13:59
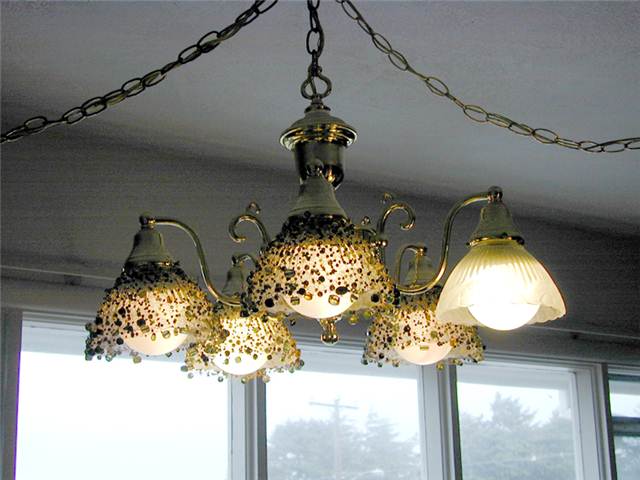
Here's a knitted wire project that I was testing out. The lampshades were just not working for me so I wanted to dress them up a bit. I bought some brass colored wire and bulk bags of glass beads (thank you Shipwrecked Beads!). Next step was to create a pattern. I did several test patches until I could figure out what my gauge was and worked out the sizing so it would fit over the shade. Basically, each shade is two halves of knitted wire that I then stitched together to fit over the shade. With my pattern worked out I sorted out my beads and loaded them onto the wire. I wanted the colors to be random but the size of the beads is smaller at the top of the shade gradually going to larger beads at the bottom. Once the pieces were knitted I stitched the halves together. I didn't take progress photos except at the very end. Here's photos with 4 out of 5 of the covers installed on the light fixture. You can kind of imagine the before/after of the project. I like how it turned out.
by Meredith
26. December 2008 14:03
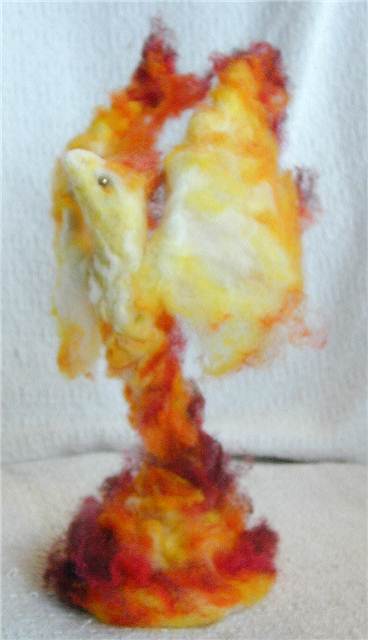
I've made two more felt sculptures (a while ago) and have finally taken some pictures.
Dying wool is really fun and pretty easy to do. Check out this website for some simple instructions: [link]
The website is describing how to dye yarn but the same principles work for dying wool roving. What is so cool about the process is that you use cake icing dye (available at Micheal's) so the process is non-toxic and can be done with your kitchen dishes. Also there is virtually no mess because when the dying is done, nearly all color has been absorbed by the wool.
It takes about 1hr per batch and involves very little monitoring. I didn't bother with using a thermometer, I just kept an eye on it to make sure it didn't boil. Because I planned on using the wool for felting it didn't matter to me if the wool felted a little in the dying process. If I wanted to use the wool for spinning into yarn I would need to be a bit more careful. But even with being not-so-careful, the wool still remained fairly fluffy.
I also bought a pair of hand carders so that I could do some blending of the colors. The phoenix colors are blends of the red, orange, yellow, and brown dye batches. (I'll have to take some pictures of my dyed wool collection).
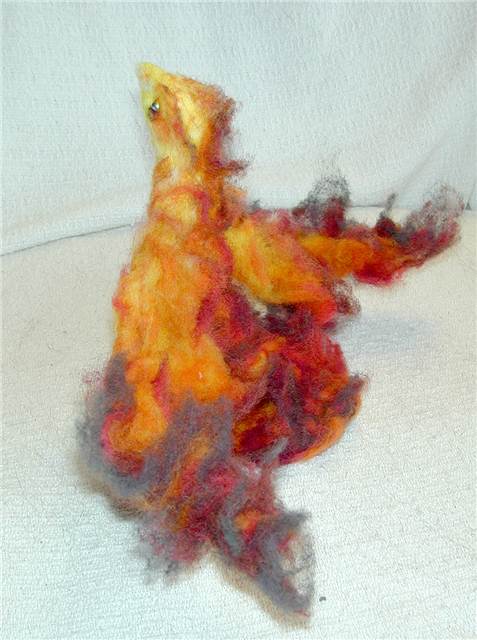 Construction was off of a wire frame and I wet and needle felted the basic form. Then I wet felted sheets of wool (~4"x8") that laid the colors out in a gradient from white to brown/black. Once the sheets were dry, I folded and needle felted the sheets onto the form.
They are a little top heavy and there isn't really any place to pick them up besides by the beak without crushing the felt. So I picked up some decorative wood blocks from Home Depot today to make them some stands. I think that will look pretty nice. Over all I am really happy with how they turned out.
Next project I want to try to make some little fairy dragons. I've started 4 frames this time so that I will have more to play with. (I was only going to do one phoenix at first but half way through I decided I wanted to do a second... it was a PITA to make a new frame for the second that was just like the first).
Anyway, I am open to more ideas of sculptures to try out. If you think of anything I am eager to hear.
by Meredith
4. November 2008 14:10
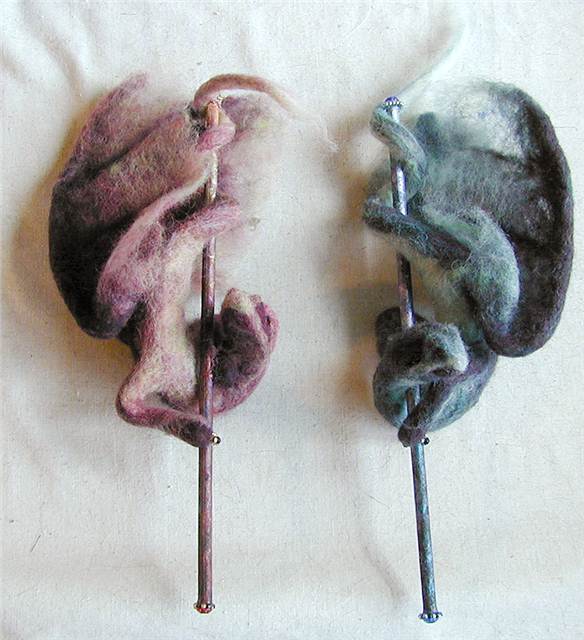
Inspired by ~tallydragon ([link])
I made these as role-play prizes for a LARP event.
I used wire for the frame, wet felted a base structure, and then dry felted the colored wool on. The wings are wet felted sheets that were dry felted onto the wing "bones."
by Meredith
19. April 2008 15:56
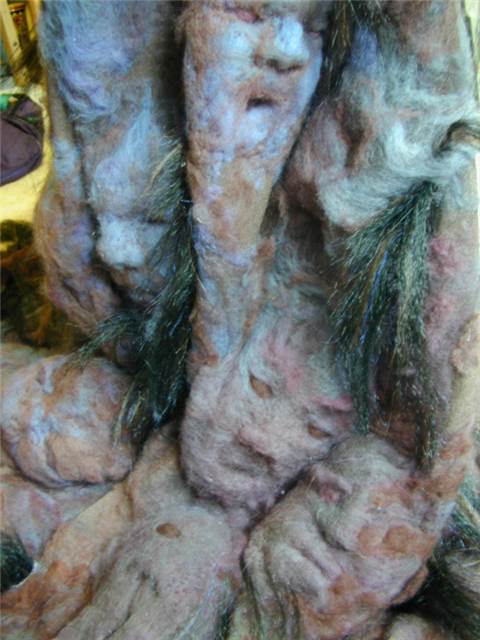 Once all the faces were tacked down into place I started filling the spaces in between with more wool and the hair wefts.
The majority of this work was done with the gown on the dress form to ensure that it would look right. The hair wefts were draped onto the dress and hand-sewn to the fabric.
Later, after I filled in the spaces with additional wool, I trimmed up hair so that each was a length I liked. Similar to how the faces were arranged by color, I filled in with darker colors of the wool as I reached the bottom of the gown. I also ripped up the bottom edge of the dress, fraying all the edges to help add weight to the form.
The final piece of construction was to add some beading. Because souls as I imagine them are mystic, ethereal things, I wanted to have a little bit of sparkle integrated within the wool. I tried out many different patterns and beading techniques and eventually settled on scattering the beads out into some general lines versus having them clumped together or worked into specific patterns.
To plan the layout I used some scrap tule, draping and pinning the lines into a general flow 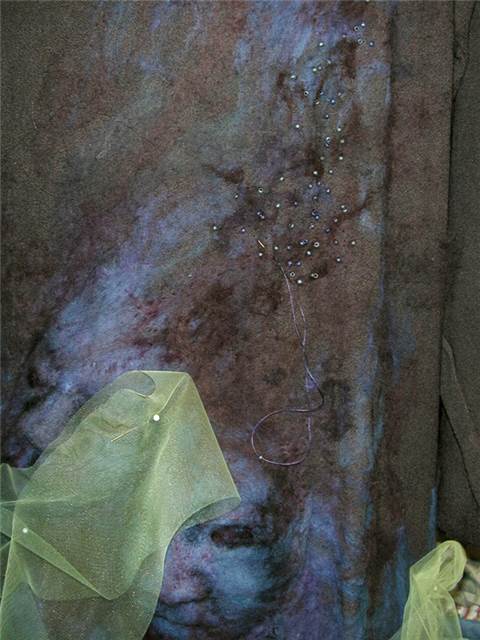 that I liked. Similar to applying heavier and darker amounts of wool at the base of the gown, I also applied heavier amounts of beads.
by Meredith
18. April 2008 15:49
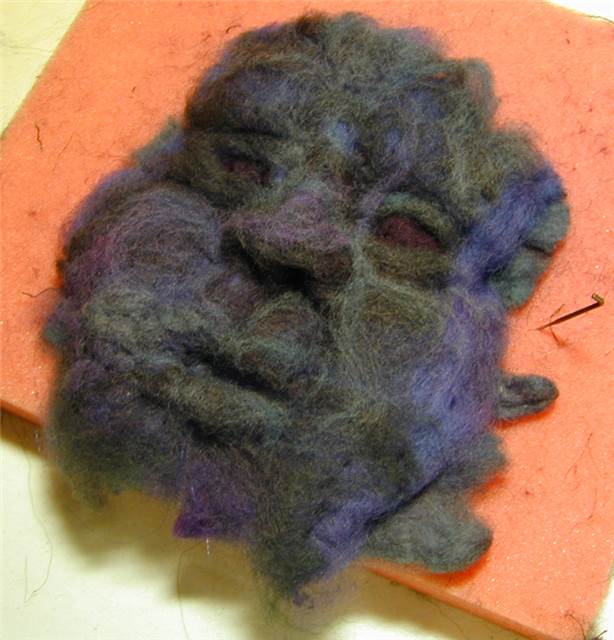 Making the faces took a lot of experimentation but I finally developed a system for I could produce them fairly efficiently and with good results. Many of my early attempts had to be reworked so that they looked better and matched the later version.
In general, the method I worked out was to layout several layers of the dyed wool. Each layer was spread out so that the “grain” of the wool was in a different direction. With enough layers so that the wool was about an inch thick I would then felt the layers together with my multi-needle tool. With the lightly felted square I would then pinch in the major features of the face, tacking each into place by using the single needle to push the wool into the foam work surface. I then used the single needle to felt in the rest of the facial details: pushing in recesses like nostrils and wrinkles; teasing out obtrusions like eyebrows and noses; cutting in holes like eye sockets and mouths.
The next step of the project was to arrange all of the faces onto the dress. With the base-fabric gown draped on a dress form, I arranged each of the face with the lightest colors towards the top and the darkest at the bottom. The goal was to add a weight to the garment, to show Fea’s heavy burden while weaving in the souls of the fallen. In addition to the color arrangement, the faces were also rotated and laid out to create a spiral pattern; the faces wind their way up Fea’s form.
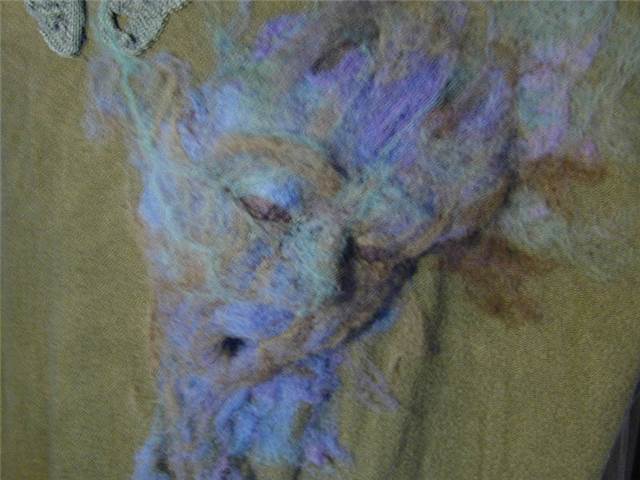 Each face was square and built to look straight on, but I found that with pushing the wool around and adding filler where needed, I could tilt the faces into different directions. After having the general layout planned, I squished and shaping each face, grouping them so that they were looking out in different directions. One of the problems I discovered was that I had to work with the gown on the dress form for all planning. Once I laid the gown flat to work on felting the faces down, the pieces would lay differently; so what didn’t look right laying flat looked great hanging up.
by Meredith
17. April 2008 15:40
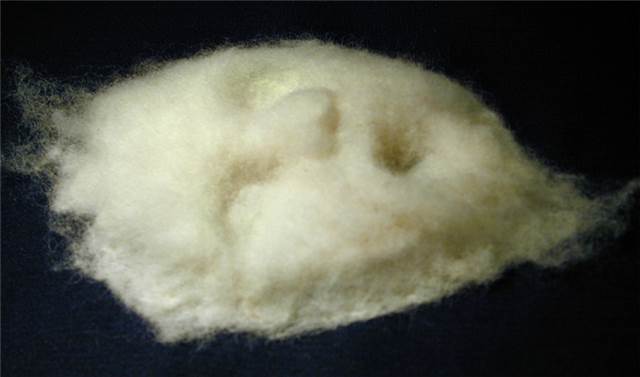 The major exploration portion of the project was devoted to learning about manipulating wool, both with the dying and the felting process.
First I had to purchase by materials. Based on the recommendation of a friend I bought my wool from bought The Sheep Shed Studio. I ended up buying way more than I actually used: 5lbs and I used about 1 lb. My felting needles were purchased from Wool Works. Once I had the tools and supply of wool I tested out the felting process by making one face. It was fairly time consuming the result worked well enough that believed I could make the project work.
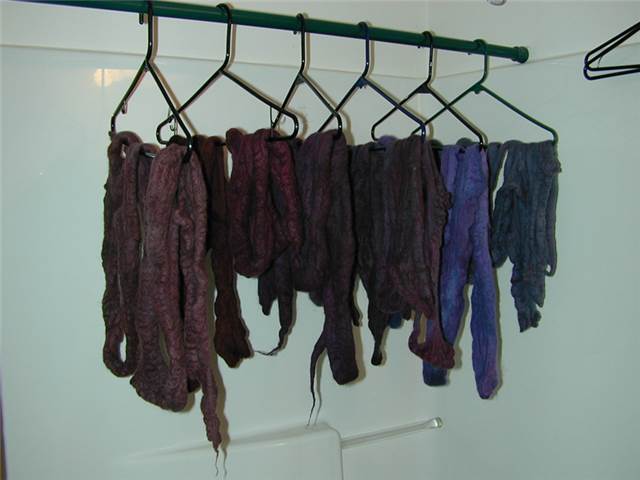 The next step was to dye the wool into the colors I wanted for the project. The best and easiest instructions I found to follow were from Pie Knits’ blog, Feb 20, 2006. This was an incredibly easy and fun process. Because the dyes used were edible (Wilton’s Icing Dye), the entire process could be done in the kitchen using the pots I already had, no special equipment purchases were necessary. Another amazing thing about dying wool is how little mess there is. You know when the dying process is done when all the dye has been absorbed from the water by the wool. Unlike fabric dyes, there is no real rinsing required, the wool as fully absorbed all of the color.
As part of a human and organic element, I wanted to work in a fringe of hair around the wool faces. I made wefts out of a mix of synthetic and human hair. The wefts were made by laying out layers of the three different colors of hair onto a bead of glue. A strip of fabric (so I have something more solid to sew to the dress) is pressed onto the glue. Once dry I cut the strip of fabric down the middle to create two long wefts of hair.